John Hinsley
Last updated Tue Sep 18 2001
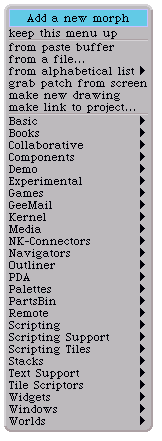
With the latest changesets, Squeakers will notice that the old, familiar Add a new morph menu

has been replaced by a somewhat truncated version:
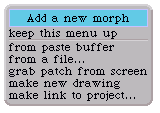
and, on looking further that there is a new entry in the World menu
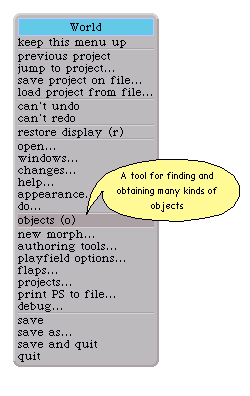
which in turn calls up the brand new objects tool.
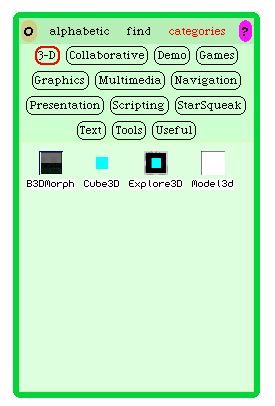
I have to admit that the first time I saw this I was horrified. How could I call the morphs which were not in either the objects tool or the flaps? Would I have to re-write my tutorial again? What were those folks at Squeak Central thinking of? But other Squeakers soon straightened me out.
Both the classic Add a new morph menu and the objects tool have advantages. The objects tool gives nice thumbnails of morphs whose name you can never remember, and is surely the way to go, but does not encompass morphs which are not in the main distribution, and, currently, won't handle all morphs, while the classic menu handles everything, but relies on the user remembering an often cumbersome name.
Fortunately it is possible to have the best of both worlds. Select Preferences from the Squeak flap at extreme left (if you don't have any flaps, take a look at flaps..... in the World menu) and select classicNewMorphMenu.
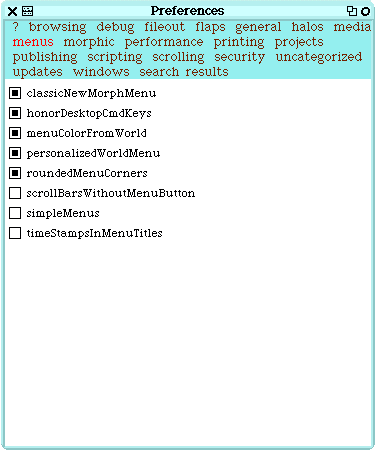
This will give you both the classic menu and the objects tool, so it's a genuine win/win choice.
Here, I'll use Lex Spoon's ScreenShotButtonMorph as an example, because I know that it will work. If you don't have a copy and want to follow this word for word, you can get it from the yahoo archive as 30106 [ENH] ScreenShotButton
In fact, all you really need to know about how to do this is in the class side of ObjectsTool.
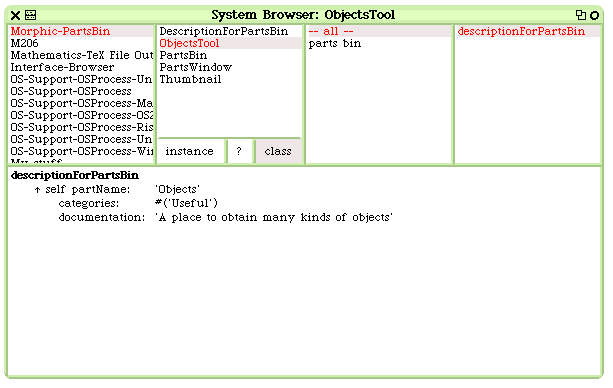
But let's proceed step by step.
Squeak is a very mousy environment ;-). Here's a gif made from a table prepared by Andrew P.Black which explains the mouse functions in Squeak according to a colour code. So if I say "yellow button this, red button the other" you'll be able to work out what mouse and/or keyboard action to perform. (Why am I using a gif instead of a HTML table? So that Scamper can handle it. But that's another story.)

First, save the changeset for Lex's ScreenShotButton morph to somewhere you'll be able to find it. It's worth remembering that most (but not all) changesets come gzipped -- so they should have a double suffix, something like "allSingingAndDancingMorph.cs.gz" -- and that some email clients clip the last bit. So, to save trouble later, pay attention to what the file is called and what it is being saved as. Next, in Squeak, open up a file list (select open..... from the World menu and then file list). Mouse your way through the file listing and select the relevant changeset. Yellow clicking on it will enable you to either file it in directly or use the
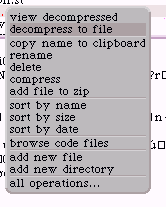
decompress to file option to gunzip it and then file it in. By all means take a break to play about with the morph (which will appear in the classic New Morph menu if you've followed this so far!).
You'll have a nice, friendly little morph, but you won't be able to open it from the objects tool. We might say that the objects tool doesn't know about the morph. So, let's tell it! Open up a browser and use the yellow button in the top, lefthand pane to bring up the find class dialogue
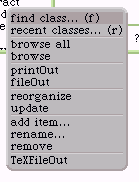
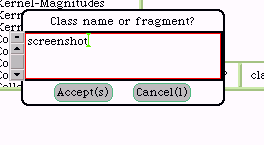
to find the morph select ScreenShotMorph in the dialogue you'll be presented with.This is what you should see (please note that the class side is selected):
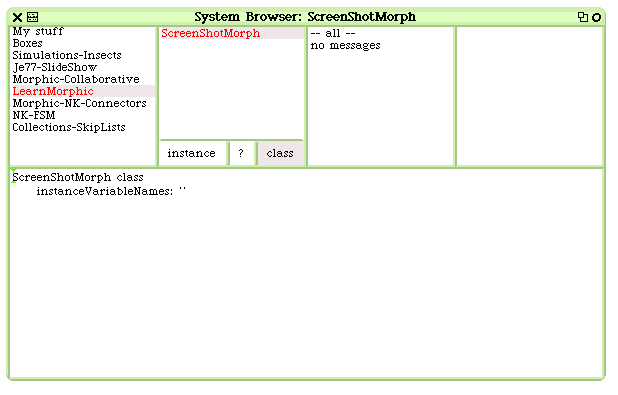
open up the new category dialogue by using the yellow mouse button in the third pane from the left. Select new and type in "parts bin" and click the accept(s) button. (Why does it say "accept(s)"? Because you can also use Alt [s] as a keyboard shortcut.) Next, with the bottom pane selected, either copy and paste the following (copy it to your system's clipboard and bring up the dialogue in Squeak by yellow buttoning on the main pane -- select paste(v) ) or (after deleting the selected text) type it in by hand:
descriptionForPartsBin
    ^ self partName:    'ScreenShot'
        categories:     #('Screen')
        documentation:  'A button to allow the grabbing of the whole screen'
And accept it. Here, the ('Screen') merely adds a category to the objects tool. Feel free to use one of the existing categories or use your own. Here's what the browser should now look like.

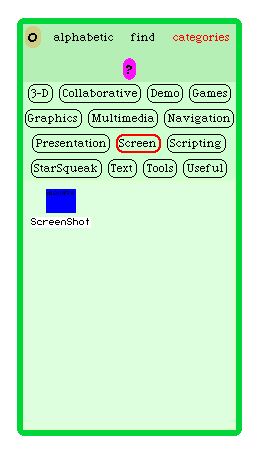
And here's the object tool with the new Screen category and the little thumbnail of Lex's morph.Ta da! Don't forget to save from the World Menu, or you'll have to do it all again!
I hope you now know how to get other morphs into the objects tool. But do remember, not all of them, not even all of Lex's ones (!) will go in.
My thanks to Bob Arning and Scott Wallace for putting me on the straight and narrow.
Happy Squeaking and May the Morph be with you!