How to lay out submorphs - example 2
Last updated at 2:46 pm UTC on 18 August 2016
Here is a more extensive example how to layout submorphs. I typed this in a workspace, developing it bit by bit as I experimented trying to figure out what the various methods were and what they did. I suggest that you copy it to a workspace, and execute it a bit at a time, looking at the effects.
 "Let's start by setting up a background Morph to play with.
 (Select this code down to the next comment, and 'DoIt')"
 |r e s b |
 r := RectangleMorph new.
 r color: Color gray.
 r position: 10@10.
 r extent: 150@200.
 r name: 'background'.
 r openInWorld.
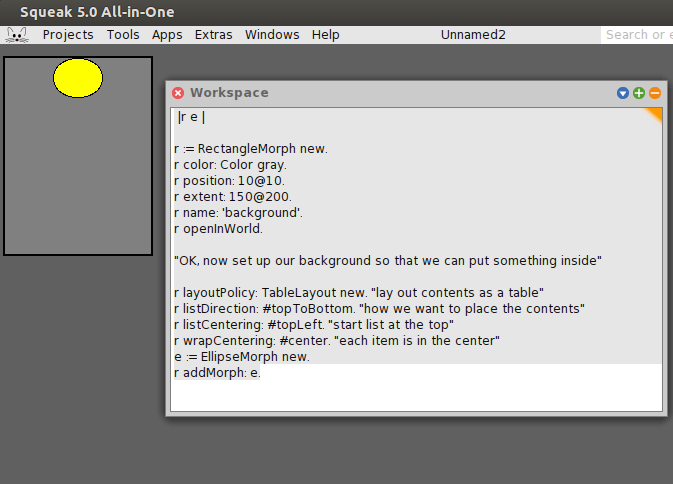
"OK, now set up our background so that we can put something inside"
 r layoutPolicy: TableLayout new.    "lay out contents as a table"
 r listDirection: #topToBottom.      "how we want to place the contents"
 r listCentering: #topLeft.          "start list at the top"
 r wrapCentering: #center.           "each item is in the center"
 e := EllipseMorph new.
 r addMorph: e.

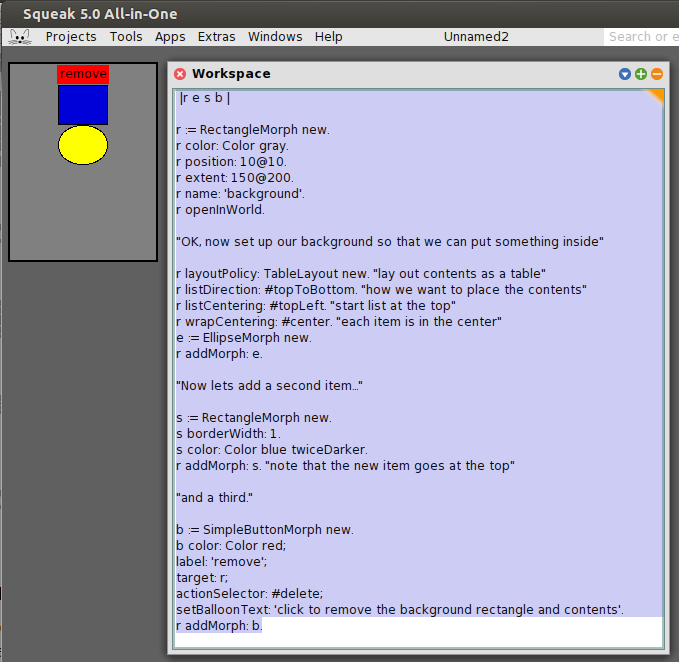
"Now lets add a second item..."
 s := RectangleMorph new.
 s borderWidth: 1.
 s color: Color blue twiceDarker.
 r addMorph: s.                      "note that the new item goes at the top"
"and a third."
 b := SimpleButtonMorph new.
 b   color: Color red;
     label: 'remove';
     target: r;
     actionSelector: #delete;
     setBalloonText: 'click to remove the background rectangle and contents'.
 r addMorph: b.

"Now let's space things out a bit. Try these one at a time ..."
 r cellInset: 2@5.                   "controls distance between content elements. Note that the inset can be a Number, a Point or even a Rectangle"

 r hResizing: #shrinkWrap.           "try it and see!"
 r layoutInset: 4@8.                 "that was a bt too cramped. Note that the inset can be a Number, a Point or even a Rectangle"
 r vResizing: #shrinkWrap.           "Now we are done"

Andrew Black


